Original guide CONDITION & CARE
Used football shirt condition: fabric, crest, sponsor and nameset
“Good condition” leaves questions open. Record each area, its evidence and what you accept before proceeding.
To describe a used football shirt’s condition, separate the fabric, crest, sponsor and name or number. For each area, record what you observe, its location, the photo showing it and anything still unchecked. An overall description such as “very good condition” cannot tell you whether the fabric is clean but the sponsor has cracks, or whether part of the number is missing.
1. Keep a reference before buying
Save the listing link, its description and the seller’s answers with the date. Identify the item by team, stated season, size and distinguishing details. Separate catalogue images and do not mix photos of two otherwise identical shirts.
Distinguish the seller’s statement, what is visible in a photo and what is checked directly on arrival. Mark an area without photos as “not documented”. An overall photograph cannot rule out every small defect either: an absence of observations does not confirm perfect condition.
2. Review each part separately
- Fabric and seams: locate stains, pulls, small holes, worn areas, open seams or visible repairs. Include the collar, cuffs and hem. Describe the position, such as “front, beside the side seam”, without attributing a cause.
- Crest and brand logo: record visible lifting edges, loose threads, missing sections or wear. State when an area is hidden or out of focus. The appearance of embroidery or a logo alone does not establish authenticity.
- Sponsor: review the whole print, then each area of cracking, lifting or material loss. Distinguish a visible mark on the print from a stain that the seller attributes to the fabric; if the photo does not resolve this, leave the question open.
- Name, number and patches: document each element separately. Ask about additions, replacements or previous removals, and retain the answer as a seller statement when there is no other supporting evidence. Visible condition and application date are different fields.
3. Make the detail easy to find again
The following table is a blank template. Give each observation a number and repeat it in the photo’s filename. Add an overall view and a close-up where needed; a magnified detail without a location should not be the only reference.
| Area | Observation and location | Evidence / outstanding check | Buyer’s decision |
|---|---|---|---|
| Fabric, collar and seams | ______ | Photo / unchecked: ______ | Accepted / ask: ______ |
| Crest and brand logo | ______ | Photo / unchecked: ______ | Accepted / ask: ______ |
| Sponsor | ______ | Photo / unchecked: ______ | Accepted / ask: ______ |
| Name, number and patches | ______ | Photo / seller statement: ______ | Accepted / ask: ______ |
| Included labels and accessories | ______ | List and photo: ______ | Keep / confirm: ______ |
To show a defect’s size, agree on a visible scale beside it without manipulating the area. Do not bend, scrape, stretch or lift a print to test its strength. The record describes what can be checked under agreed conditions; it is not a durability test.
4. Write observations rather than diagnoses
As a wording example, not a description of an actual shirt, “visible cracks along the lower sponsor area; photo pending” communicates more than “normal wear”. Do not turn “appears yellowish in the photo” into “permanent stain”. Lighting, focus and framing may leave questions that need another photograph or a direct check.
Smell, feel and flexibility cannot be confirmed from a photograph. If they are included in an agreed in-person check, record who performed it and its limits. Do not infer a stain’s cause, a print’s material or its repairability from a social-media comment.
5. Compare on arrival and decide about differences
When the item arrives, compare the same areas with the saved reference. Keep the pre-purchase and arrival records separate, with their dates. If a difference appears, describe it and request clarification before authorising the next operation. Do not silently replace earlier photographs with new ones.
Write down which defects you accept, which require clarification and which remain unevaluated. Acceptance applies to that item and that information; it does not create a universal grading scale or authenticity guarantee. If you need a specialist assessment, arrange it separately from the condition description.
6. Use the record when preparing shipment
State which labels and packaging should be retained and which areas need attention while preparing the item. Cleaning, repairs, print removal and replacement each require a separate decision; they should not be assumed to be included in an inspection. Confirm packing instructions before consolidating several purchases.
You can send this table when arranging our inspection and consolidation service. If you are still looking, separate essential condition requirements from preferences in your sourcing request. Candidates can then be compared against your criteria from the outset.
Before cleaning, gather the item information
Photograph the care label, fabric, crest and each addition. Distinguish original garment instructions from those for a later print or repair. Record cracks, lifting areas, stains and visible damage before deciding what to do. If an addition’s material is unknown, do not infer it from appearance.
Nike’s sports-jersey care guidance supplies context but is not a protocol for a vintage shirt with unknown materials or history. With deterioration or conflicting instructions, seek item-specific guidance before cleaning, applying heat or attempting a repair. Arrival observation does not by itself include cleaning or professional conservation.
Continue with: Storing collectible jerseys.
References informing these questions: Nike; Phil Delves; quoted collector Dominic Conrad.
Sources and scope
The need for specific descriptions appears in a search listing unacceptable defects and a question about a damaged sponsor. Another discussion of prints and TRIKOTS JERSEYS’ content on shirt care provide further user questions. They do not verify damage causes or restoration methods. This template is an original editorial tool for documenting observations.
PANDABUY JERSEYS
Use your record when the jersey arrives.
Share your reference photos and the areas you want checked. We agree the checks and packing preferences before you confirm shipment.
BLOG · THE COLLECTOR’S NOTEBOOK
Keep reading
Original guide
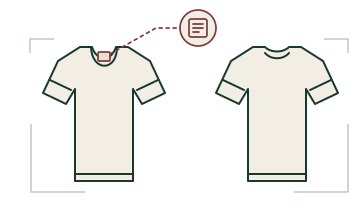
Photos to request before buying a vintage football shirt
A practical photo and question checklist for comparing a listing with the shirt you want to buy.
Read the guide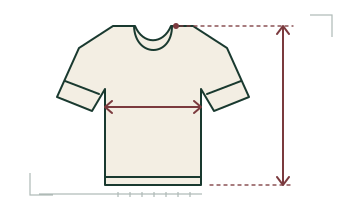
Original guide
How to measure a vintage football shirt before buying
A size label is a starting point. Compare measurements taken the same way before choosing a shirt.
Read the guide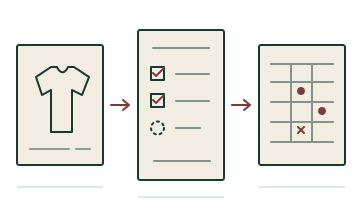
Original guide
How to prepare a vintage football shirt sourcing brief
The right shirt also needs to meet your fit, condition and budget requirements. Organise those limits before starting the search.
Read the guide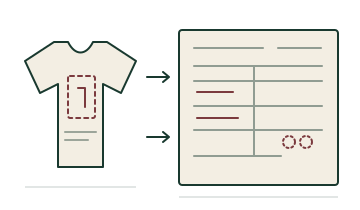
Original guide
A collection record: the shirt, nameset and open questions
One record per item to separate observations, seller statements and what remains unknown. Use it before buying and when agreeing arrival checks.
Read the guide
Original guide
Consolidating jerseys: what to check before sealing the package
A checklist to separate arrived items, unresolved questions and packing decisions before shipping several jerseys together.
Read the guide